Open Source
Supports NEP-5 Token type
No Fees For Sending And Receiving
Not Hierarchical Deterministic
Ledger Support
Open Source
No 2 Factor Authentication
Neon Wallet Review: Features and How-to-Use Guide
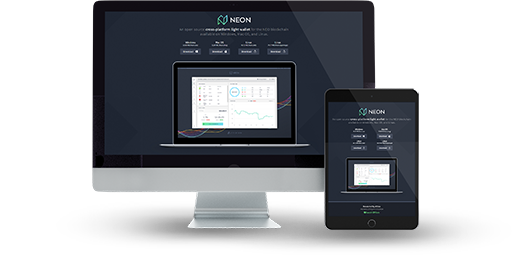
This is perhaps one of the most popular wallets to be used for NEO coins, GAS and NEP5 tokens on the market currently. It is an open-source wallet that is compatible with Windows, MacOS, and Linux. A great perk of the NEON wallet is that you don’t have to download the full transaction history in order to be operational and have access to transactions. NEON is a lightweight software that can be run on any somewhat modern computer and also quite easy to set up.
01.Neon Wallet Features & Fees
NEON is a free wallet, which you can use to control your NEO coins and NEO based (NEP5) tokens. Additionally, while storing your coins in this wallet, you will be receiving GAS and you get the ability to be a part of any NEO based ICOs. The creators of the NEON wallet are an organization called CityOfZion, which is backed and endorsed by the NEO Council. Apart from its previously mentioned perks, the wallet provides full control of your private keys as well as being great user-friendly experience in general.
Pros & Cons
In order to completely understand if the Exodus crypto wallet is the best one fitting your expectations, you might want to take a look at my short presentation of its strong and weak aspects. The following table will help you have an overview of all its positives, how you’re about to profit from them and vice-versa.
- Lightweight NodeIt is not necessary to download the full blockchain history in order to be functional and have access to transactions
- Open-Source The source code is available for everyone to validate and look at
- Private Key ControlYou can completely manage your private keys.
- Lacks Two-Factor Authentication Currently, the wallet lacks additional security layers
- No Multisig Support Multisig is a feature that requires another user to sign a transaction as well before it is carried out and broadcasted in the blockchain
Are You Interested In The Neon Wallet?
or
Read More on Multi-Coin Support and OS Compatibility:
Multi-Coin Support and Operating System Compatibility
Just like on the Ethereum network and ERC-20 standard tokens, the NEON wallet can support not only NEO coins but also the tokens that are made with the NEO blockchain. They are called NEP5 tokens and all are compatible with it.
Even though NEON is a very light wallet, I would like to provide you with the minimum hardware requirements – at least 2GB of RAM and enough hard drive space for the installation only, since you don’t need to download the blockchain.
-
WindowsWindows
A 64 or 32-bit Windows 7 SP1 or newer
-
LinuxLinux
Ubuntu 16.04 or newer
-
Mac OSMac OS
Mac OS X 10 or higher
Is Neon Safe?
Security
As I mentioned in the pros and cons section, there are no additional security or privacy layer that are implemented to the NEON wallet. It is even missing one of the main security features that are proven to be a great addition and a lot of wallets are implementing it – the Hierarchical Deterministic function. If you value security above everything, you could combine NEON with a hardware wallet, because they are protected from keyloggers and phishing attempts. Below I will mention what the wallet does have as security features.
Private Key Management
Full control over your private keys
Open-Source Code
The original core code is visible to everyone for validation and redistribution
Privacy and Anonymity
The NEON wallet also does not have any real other privacy features except for the management of the private keys. Some other wallets like in exchanges will not give you the control over your private key.
Is Neon the Wallet for You?
Download HereTransaction Fees
Although NEON doesn’t offer much security or privacy features, it has something else that is really going well for it. There are currently no transaction fees for sending or receiving NEO and its tokens. This is a strong incentive for all users that are active on the network to continue supporting it.
Conclusion
NEON is a great wallet with a lot of functionality even with its lacking security and privacy taken into mind. If you are the type of user that puts safety in first place, there is an alternative. Hardware wallets like the ones from Ledger are some of the most secure and trustworthy options on the market. It will not be a free wallet, as the device itself needs to be bought, but for the sake of safety, it can be worth it.
Neon Wallet Guide: How to Setup and Use
All right, after going through the Neon wallet review with the advantages and disadvantages it has, I would like to go over how to setup and use Neon on your computer. It will be a step by step guide for all three operating systems that the wallet supports.
How to Install
Before I continue with the tutorial, first you need to download the wallet installation file. Make sure to double check if the file you have downloaded is meant for your operating system. Be sure that you have also downloaded the latest version of the wallet as well.
Choose an Operating System
- First, download the latest version of the wallet from the Github repository
- Run the file and follow the steps in the installation wizard
You will need to make sure that the wallet is added as an exception in your Firewall and Anti-Virus settings, so it can function correctly
- Download the latest version of the NEON wallet from Github
- Take the “.deb” extension file and unzip it in a random directory
- Finally, run the installation file and follow the steps it shows you
- You can obtain the newest version of the wallet from Github
- Find the “.dmg” file and unzip it somewhere
- Run the installation and just follow the steps it gives you
With MacOS, you will need to move the wallet into your applications folder
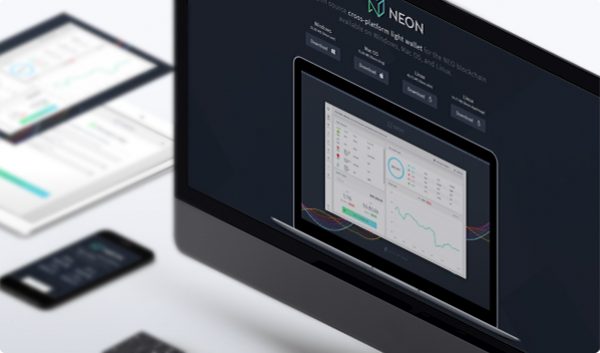
Interface Overview
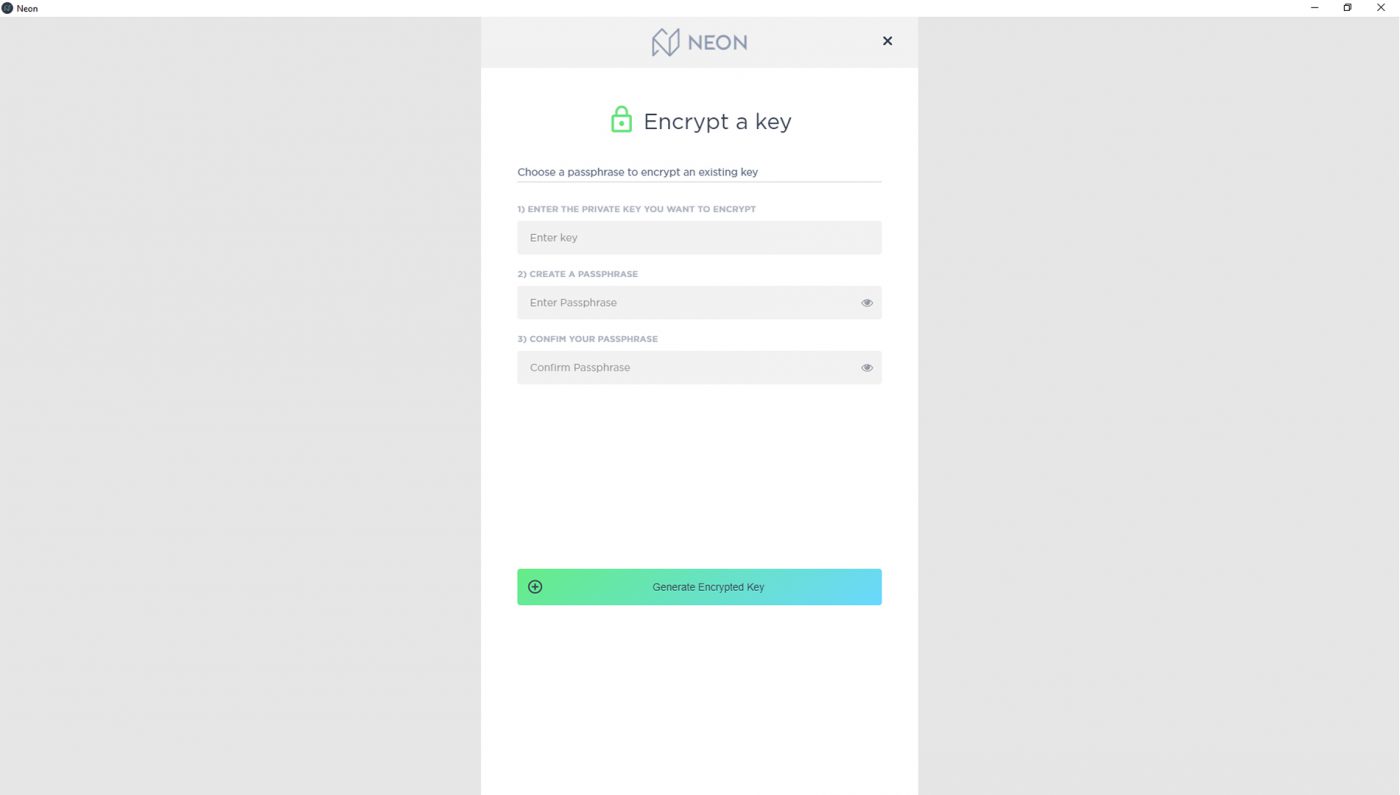
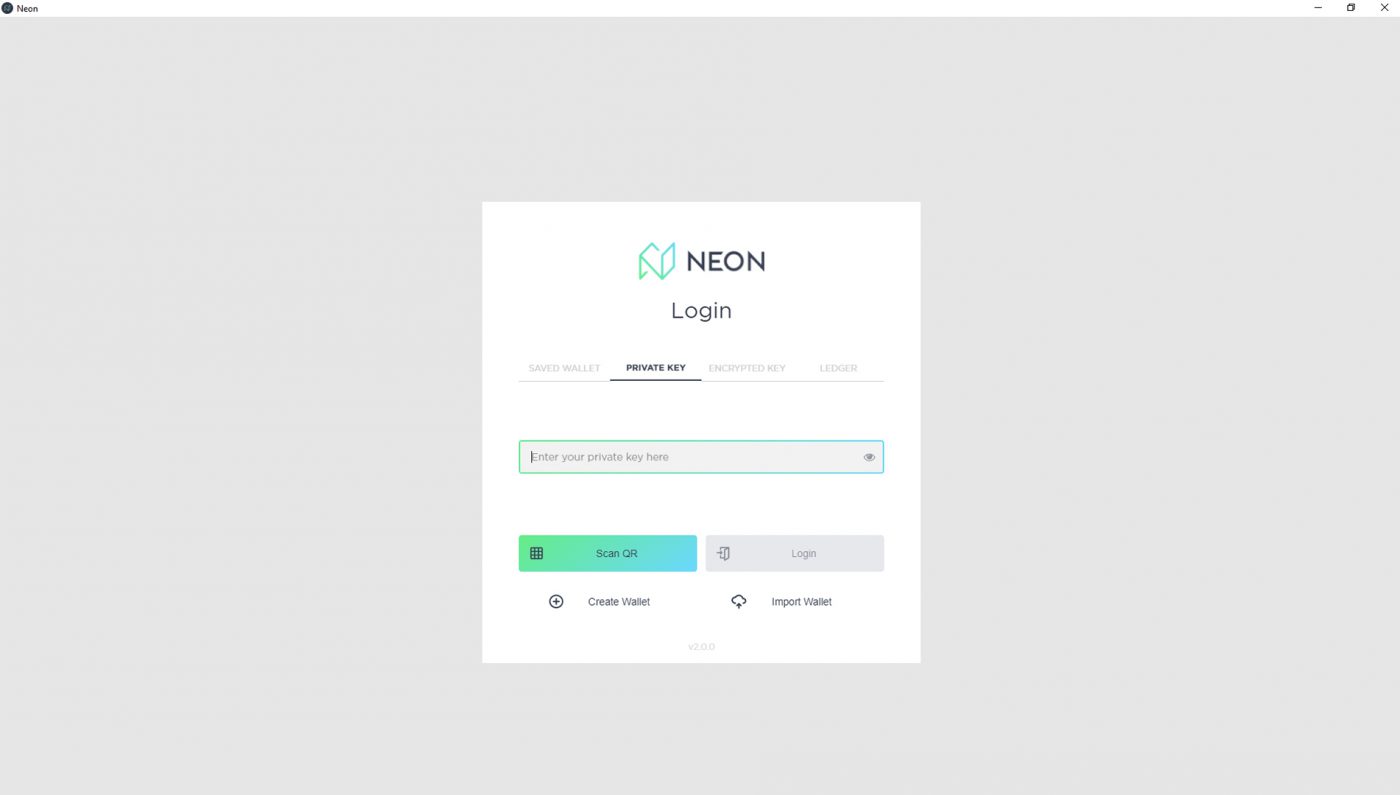
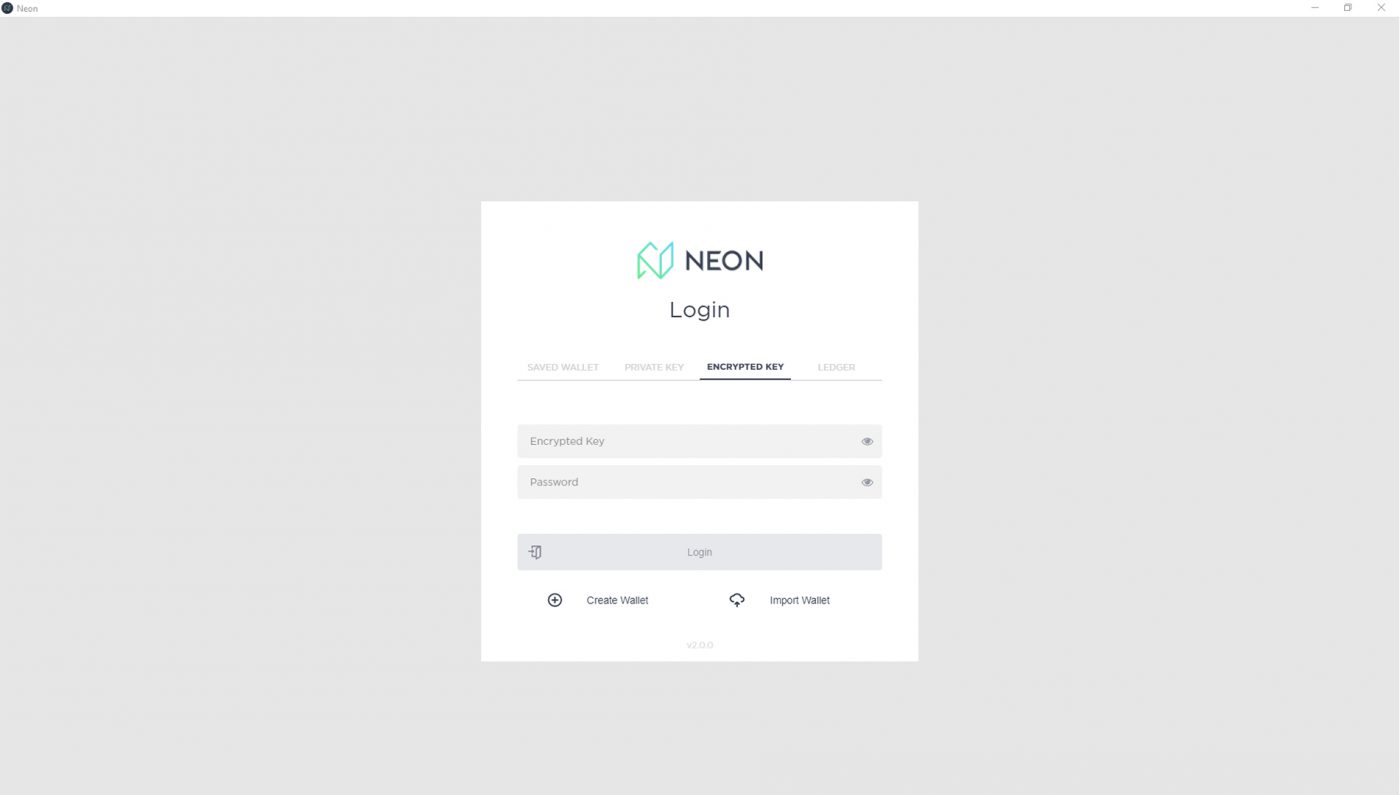
When you have completed the setup of Neon and then configured it, you will be able to run it and see its user interface. It is quite intuitive and user-friendly as each button is named and described adequately. You will see seven buttons stating: Login using a saved wallet, Login using an encrypted wallet, Login using a private key, Login using a Ledger, Create a new wallet, Encrypt existing key and Manage NEON settings. As you can see, the buttons really do speak for themselves when it comes to what they are for.
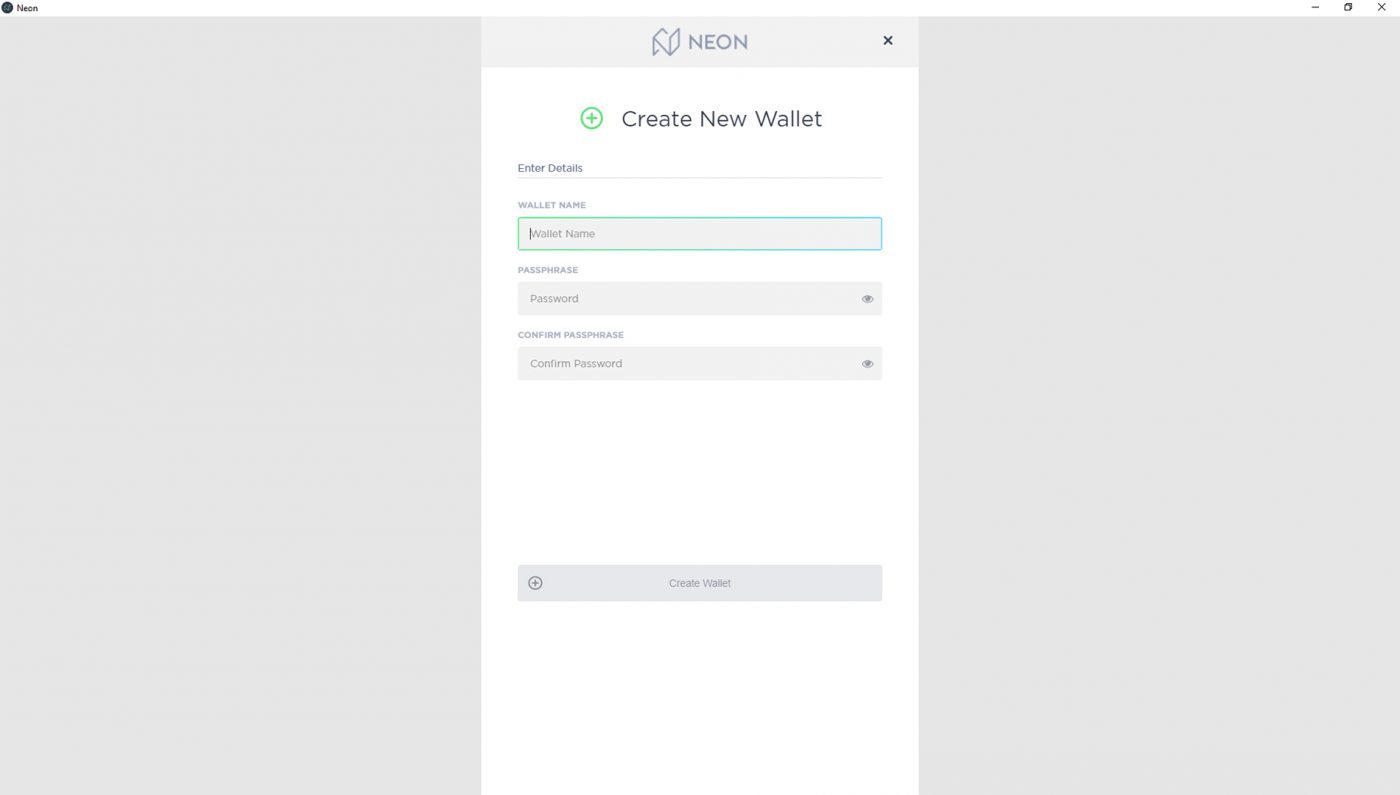
Create an Address
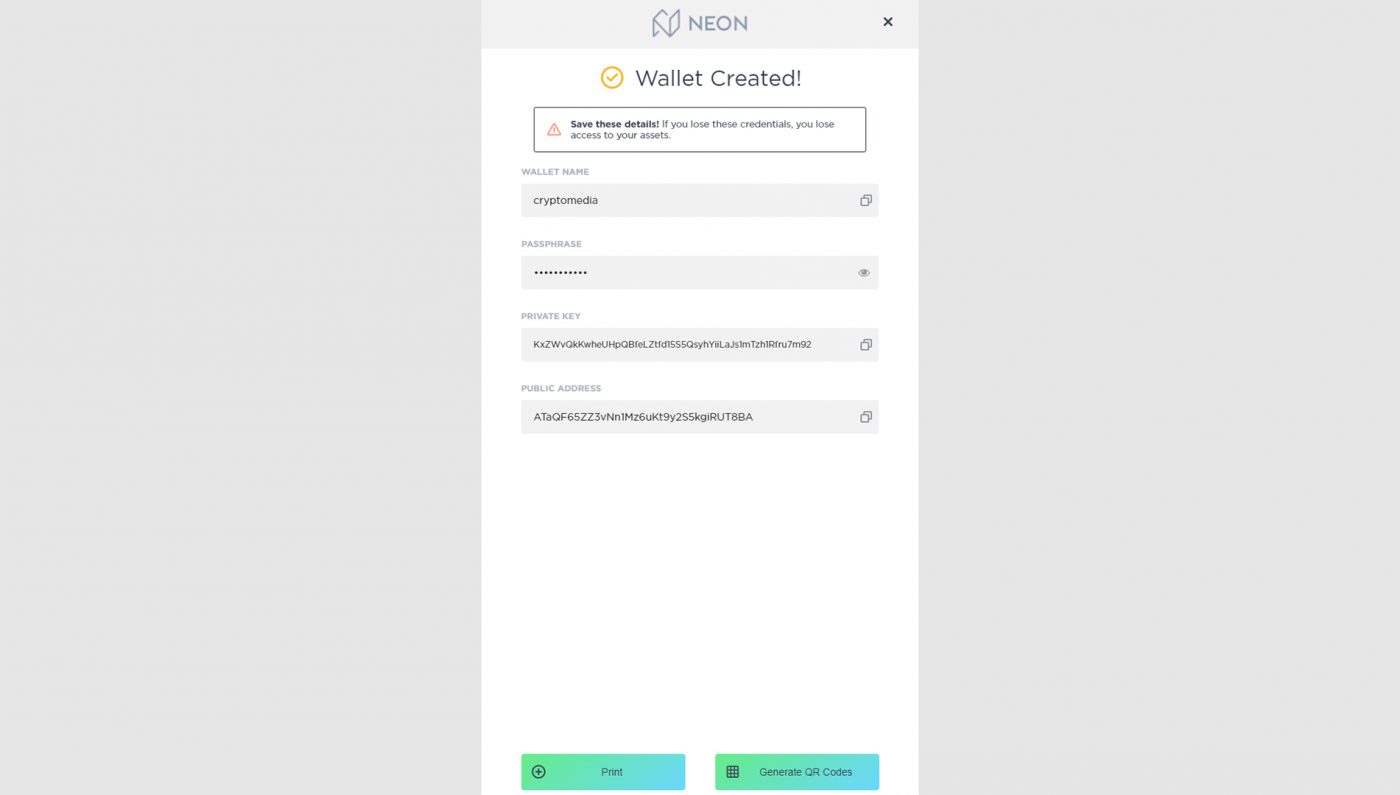
In order to use Neon, one of the first things that you should do after installing the wallet, is to create an address. Open the wallet program and then click on the “Create a new wallet” button, which will redirect you to a new window. It will ask you to enter a passphrase, which you should make as complex and as hard as you can, as that will make it very strong and secure. After that is done, you can click on the “Generate Keys” button, which will generate new public and private keys.
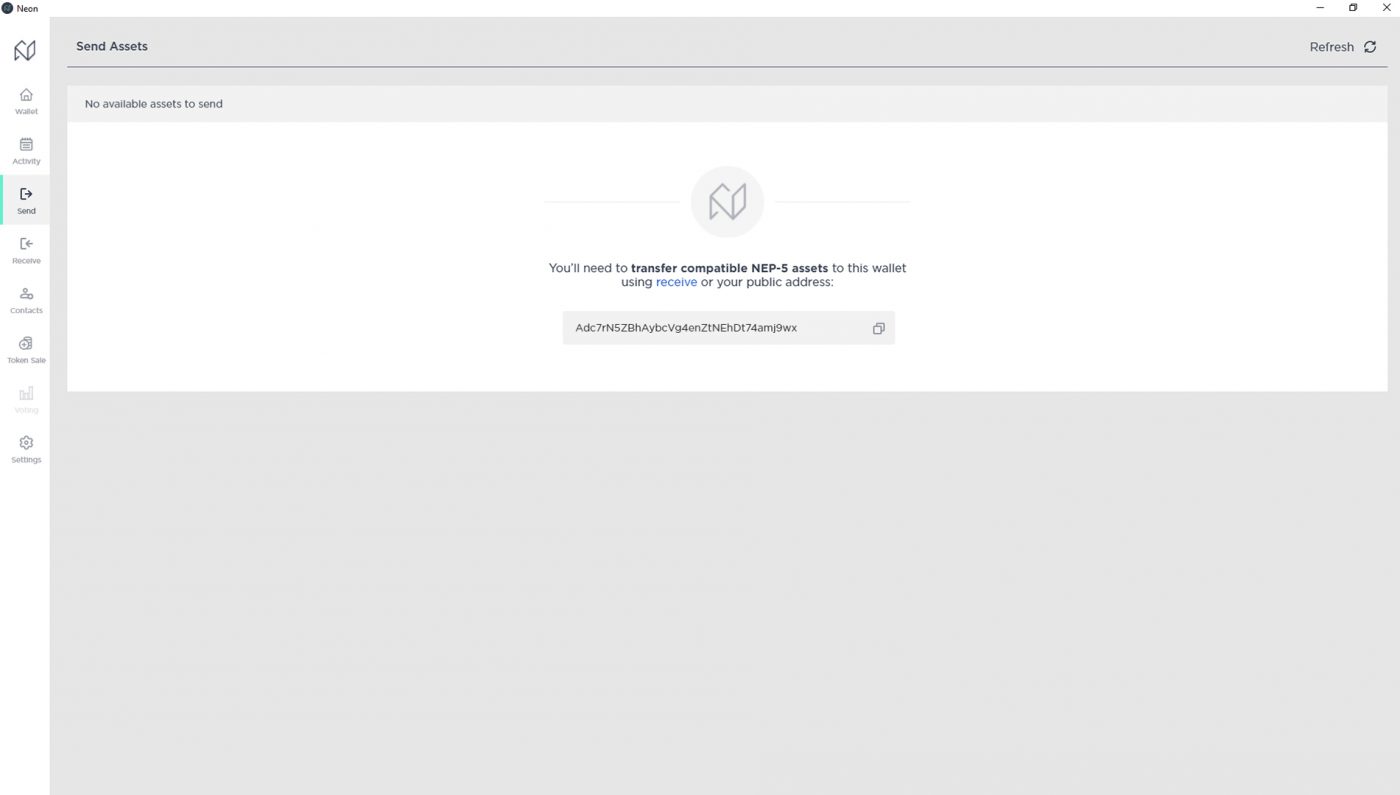
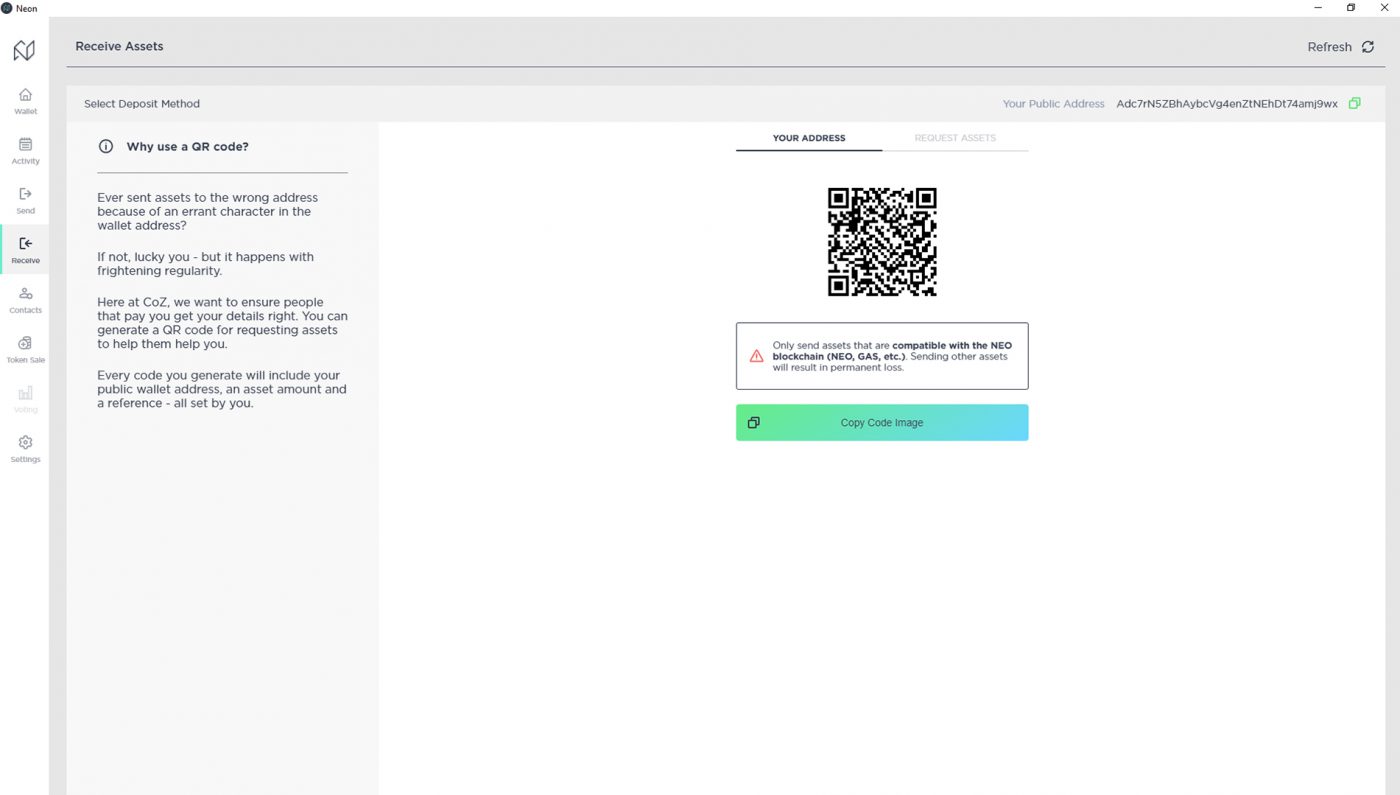
Send and Receive Assets
In order to receive coins to your NEON wallet, you can copy your public address from the wallet clipboard and use it in your other wallets or exchange. Please have in mind that you can send only whole numbers of coins. On some exchanges like Bittrex, there is a transaction fee, which you need to have in mind. This means that you should, for example, send 1 NEO + transaction fee. The whole transaction process is quite fast and within a few minutes, your coins should be present in the NEON wallet.
Backup and Restore
Backup
Install and deposit your crypto
Before we get to the backing up of the wallet, you will need to make sure that you have installed it properly. You can get its latest version from CityOfZion’s Github. The installation itself has pretty easy steps, which you can follow.
Create a strong password and save it
When you click on the “Create a new wallet” option on the user interface, you will be asked to set up a passphrase. It is the first step to assuring the security and adequate backup to your wallet. You should make sure to backup and secure the encrypted public and private keys. A good idea is to print them out and make sure they are in a safe spot.
Restore
Install and restore wallet from the seed
Instead of using a seed, you will need to use your private key. From the wallet interface, you will need to click “Login using an encrypted private key” and then enter it. It will also ask for your passphrase to complete the action.
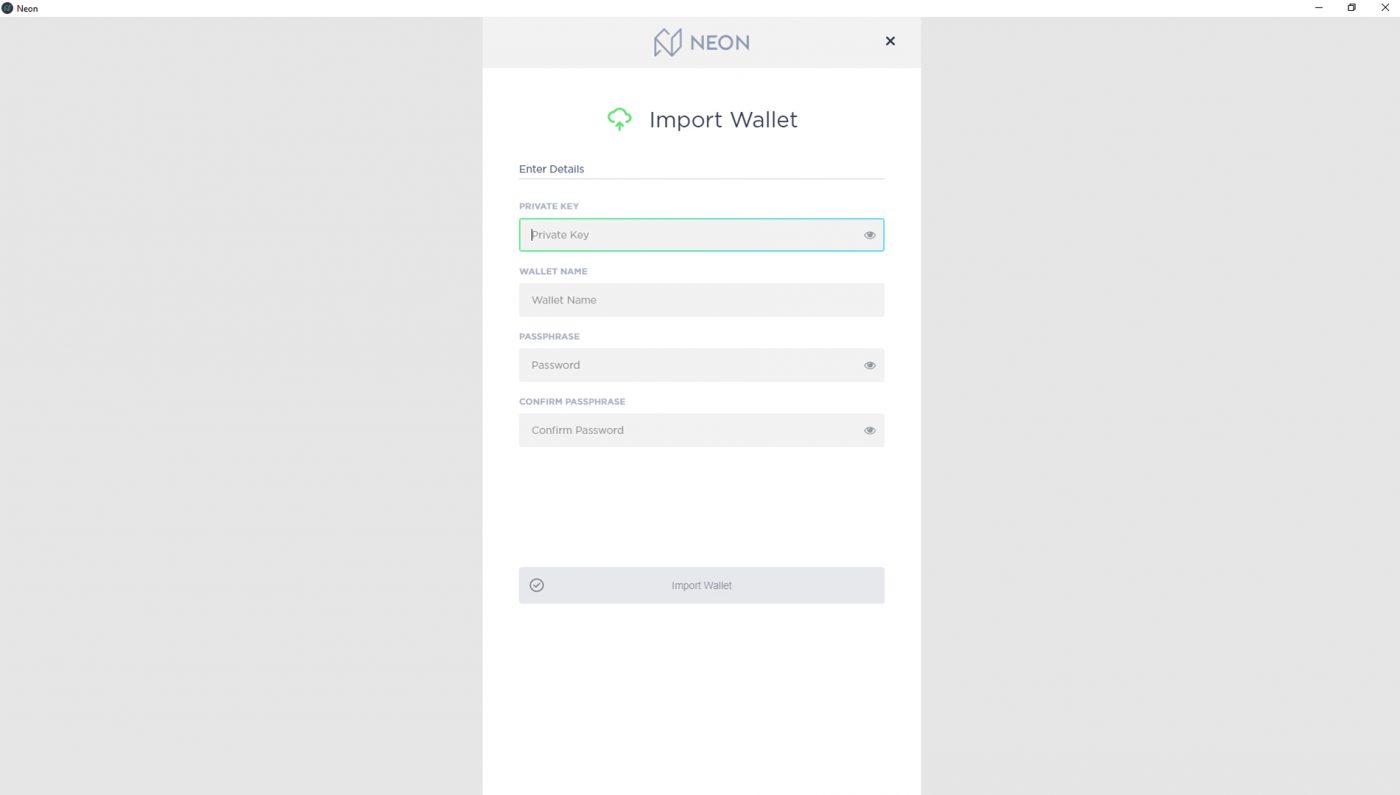
Restore by importing private keys or using wallet files after install
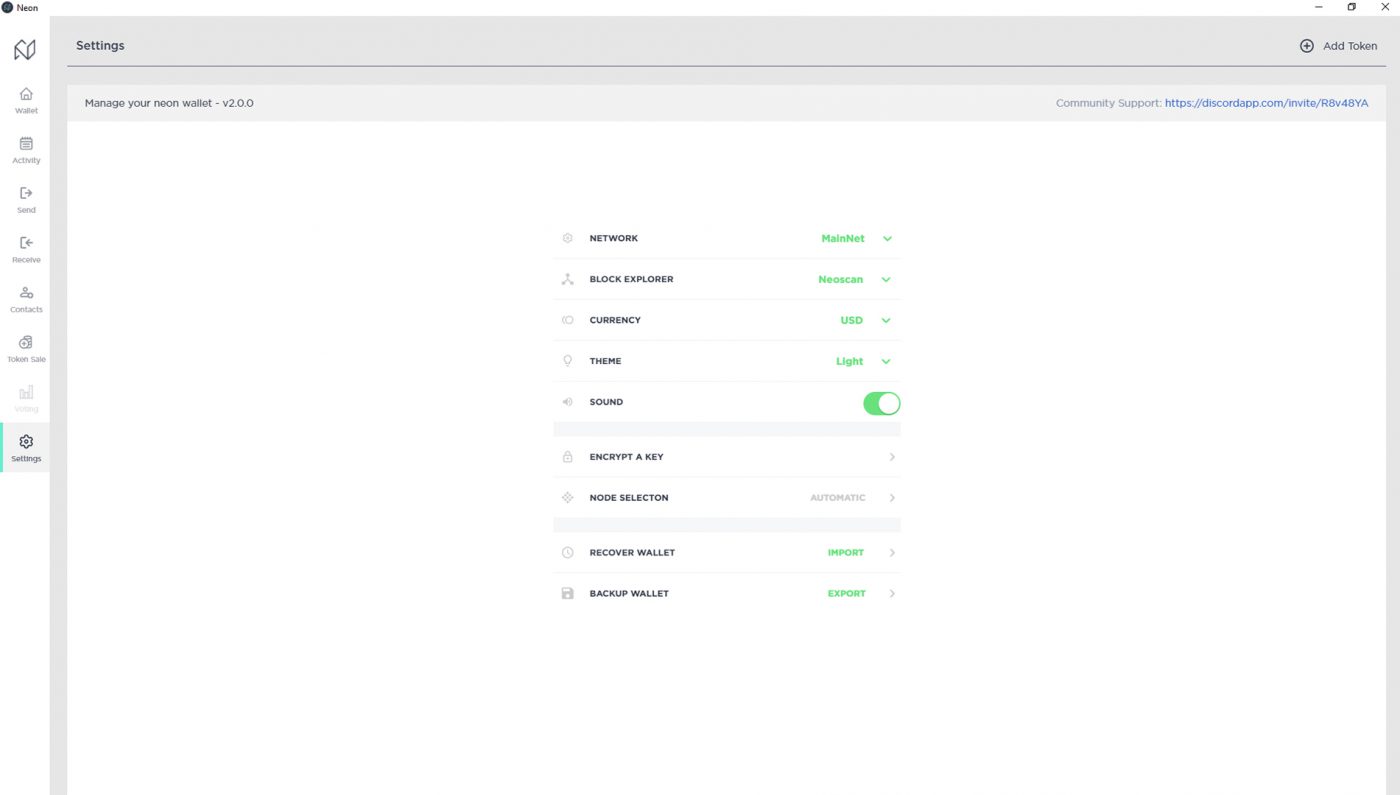
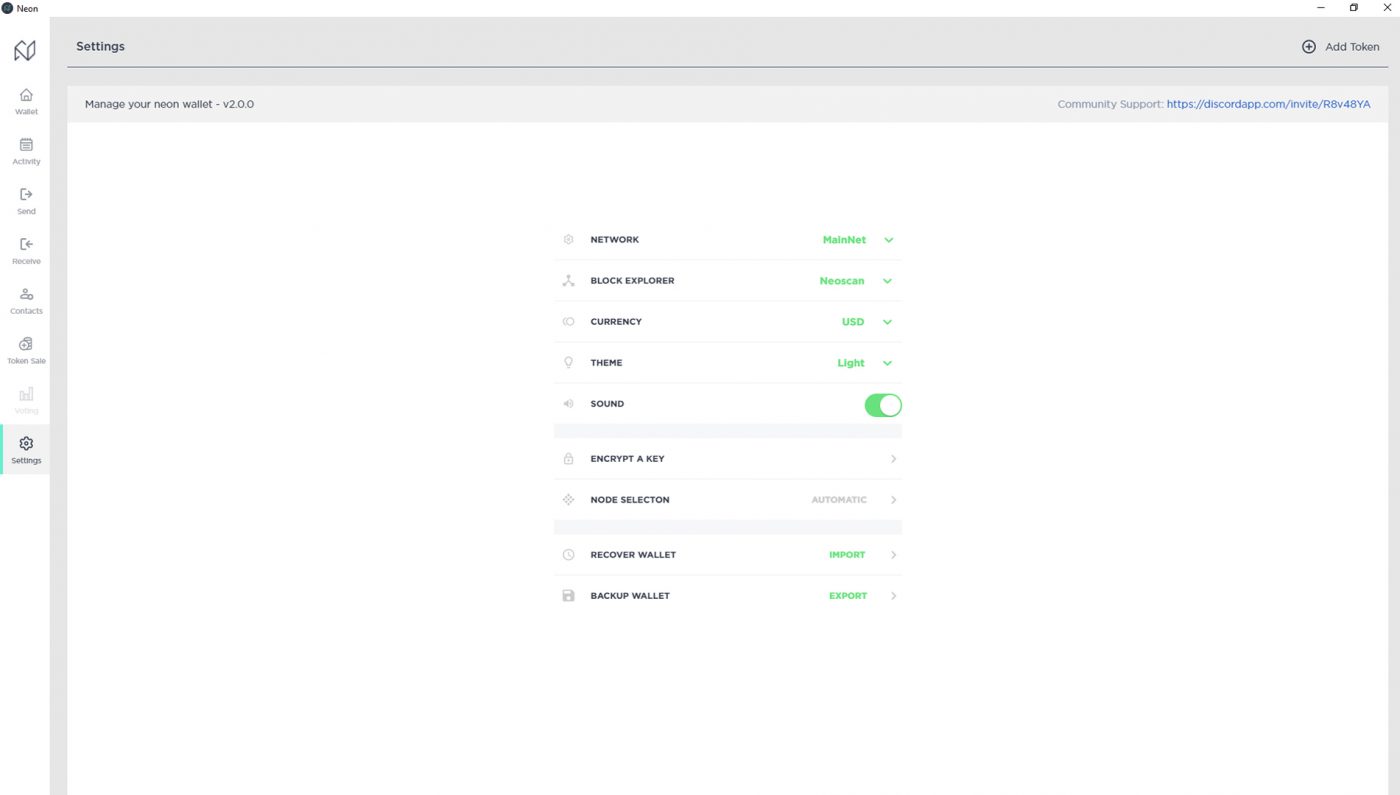
The other method of recovering your wallet can be done from the home screen. Click on the Import Wallet button and enter your wallet name, private key and passphrase. Alternatively, you can just import your wallet from a previously backed up version of it in a .json file. This is done from the Settings menu after you click on Recover Wallet, then Import and choose the file.
Specific Functions
I would like to quickly go over some of the more specific functions that the NEON wallet possesses except the standard ones that every other wallet has. One of them is the ability to claim NEO GAS just by holding your coins in the wallet. You get GAS regularly as a dividend. The other more notable feature is that NEON supports the hardware wallets of Ledger. They have some of the best security on the market and are highly praised by the community. That’s all great, but you will have to buy the Ledger wallet, as it is a separate device that has great build quality, but for the sake of safety, I think it is worth it.
Possible Issues and How to Avoid Them
I know I have mentioned this time and time again, but just to advise it again. The only way around the disadvantages that NEON has, like the lack of a hierarchical deterministic nature, multi-signatures or two-factor authentication, is to have look into Ledger’s products. They are hardware wallets that offer NEO support and actually provide some of the best security features you can get on the market.
03.FAQ
-
How To Claim GAS on NEON?
All you need is to just hold your NEO coins in the wallet and they will regularly generate GAS. In NEON for every 100 NEO held in it, you get 1 GAS token per month. In the wallet, where you can check your coin and token balance, there is a button you can use to claim your GAS tokens.
04. About Neon
The Neon wallet was created by an independent organization of open source developers called City Of Zion. The wallet is suitable for NEO coins, GAS, and other NEP5 tokens. It is compatible with Windows, Linux, and MacOS without needing a full download of the blockchain history as it is an open-source light wallet.
One of the most notable features that you get while using the Neon wallet is generating passively and completely free GAS tokens. All you need to do is just hold your coins and keep the wallet online for long enough. Neon provides great security for its users as you have full control over your funds and private key.
Neon on Social Media
If you are interested in always being one of the first to know about future updates and changes, you can start by following the Neon official website and social media links, that I have mentioned below.